Skip to main content
Search
Search This Blog
Seize the Sparkle
unabashed nail polish collector & lover of everything that sparkles
Home
More…
Posts
Showing posts from February, 2014
Show all
February 25, 2014
NYC Tudor City Teal
February 10, 2014
Layering: Paloma Present
February 06, 2014
Nail Art: Distressed Nails
February 04, 2014
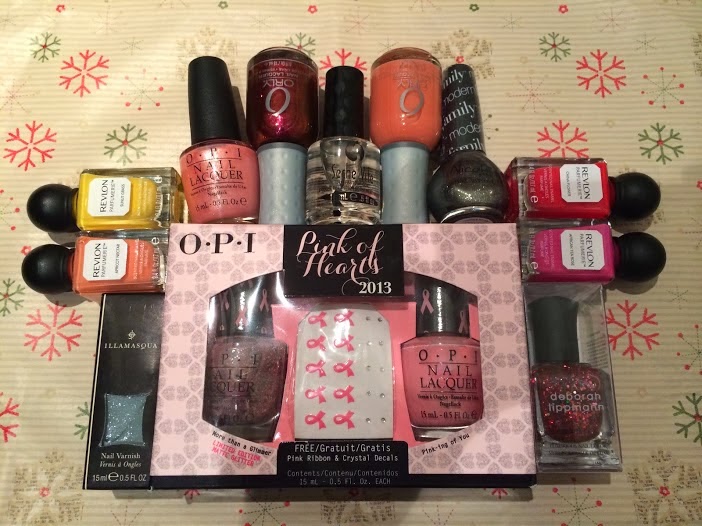
OPI Pink-ing Of You
Newer Posts
Older Posts
Home